There are a few secrets to achieving the perfect C-curve nail design. First, start with a solid base color. This will help to create the foundation for your C-curve. Second, use a gradient tool to add color to your nails in an arc along the nail. Finally, use a fine-tip brush to fill in the valleys between your arcs. Use these tips to create the perfect C-curve nails !
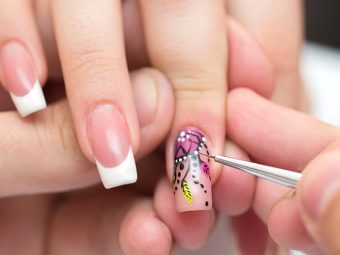
Image Source:Google
This trendy design features a gradual slope from the middle of the nail to the tip, making it look like the hand has been dipped in water. To get this look, you'll need to have flawless nails and a well-defined c-curve.
The Best Equipment for Getting Successful c-curves
If you're looking to get c-shaped nails done professionally, you'll need the right tools.
1) An oscillating tool. This is used to smooth out your nails and create the desired c-shape.
2) A curling iron. This is essential for creating the desired waves in your nails.
3) A topcoat. This will protect your nails from exposure to UV rays and keep them looking their best.
4) Nail polish. You'll need a color that matches your natural nail color, as well as a topcoat.
How to Shape a C-Curve Nail
Shape a C-curve nail with these simple steps.
1. Start by drawing a straight line across the nail.
2. Continue making U-turns until you reach the end of the nail.
3. Add a final turn at the base of the nail to finish off your shape.